
To create a new genre or modify an existing one:
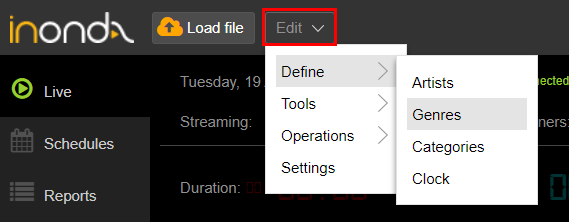
1.Click Edit > Define > Genres in the top toolbar.
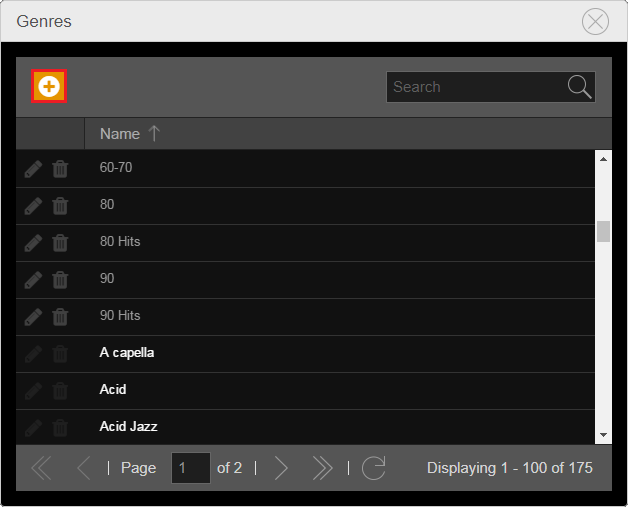
2.The Genres window shows all the genres in the library, including predefined genres and those defined by the user.
Click the Add button.
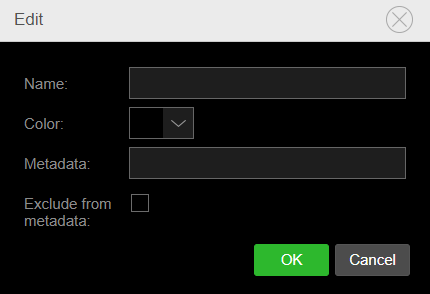
3.Enter a Name and, if desired, a Color for the new genre.
It's possible to insert a custom Metadata to show on the player everytime a song from that genre is played. Or you can exclude the entire genre from metadata sending.
4.Click Ok.
The genre is now defined and is showed in the Genres window list. You can use it to associate songs loaded in the library.
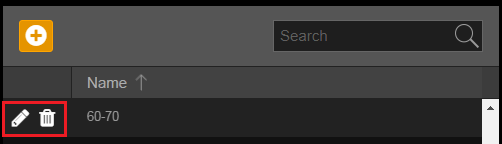
The Genres window allows you to edit or remove genres from the cloud at any time, except for predefined ones.
To do this, use the two buttons on the left side of the genre name.
|
Remember If you delete a genre, all its associated songs are automatically assigned to the genre UNDEFINED. |
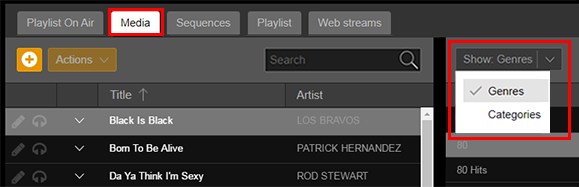
Genres are shown in the Media section, used for file browsing.
If in the Media section the search filter is enabled by Genres, the button array on the right of the section shows the genres with the chosen name and color. By clicking on a genre, only its linked songs are shown.
|
Remember The button array shows just genres that contains at least one song. |
You can also add or modify genres from the Editing or Properties window of the songs, using related buttons.
